Help
Import CSV
Import a CSV file into a new or existing Table
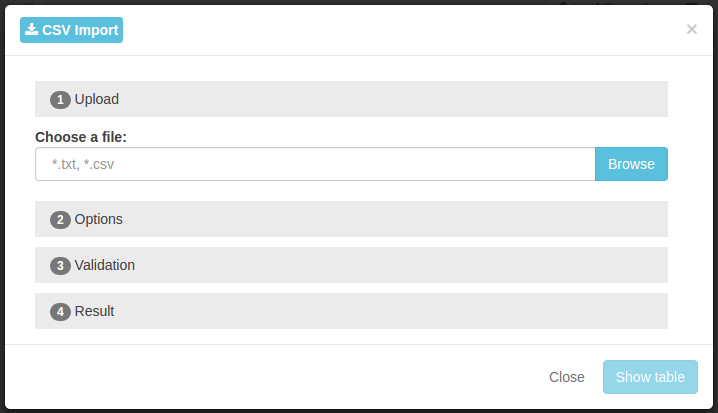
To import a CSV file you upload the CSV file, set the import options, validate the calculated results and as a final step import the data into the Table.
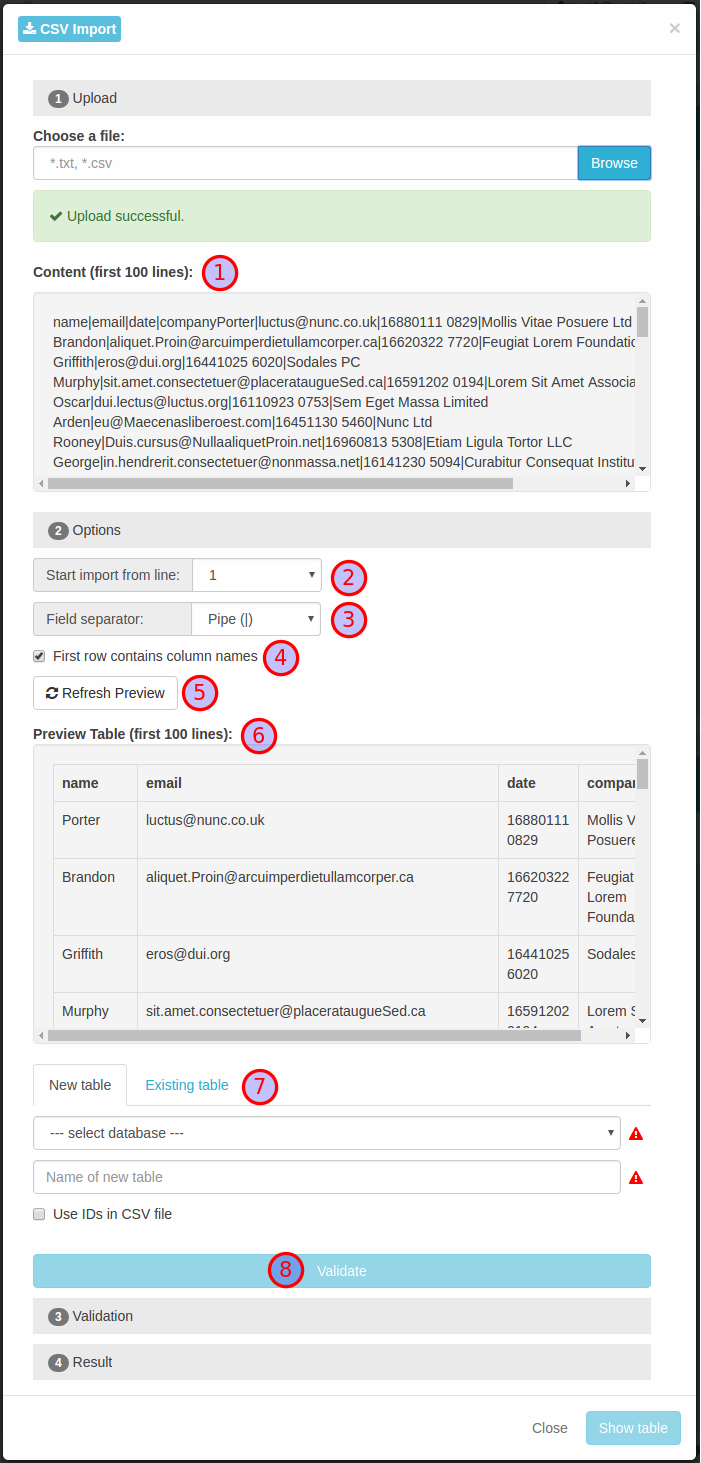
The screenshot above shows the CSV Import dialog after a CSV file is uploaded. Initially the CSV Import analyzes the CSV data in order to preallocate the options with valid values.
CSV file content
Display the first 100 lines of the uploaded file.
Start import from line
Select the line number, in which the CSV content or the optional header line begins.
Field separator
Select the separating character that separates the fields in the CSV data.
First row contains column names
Tick the checkbox, if the first line contains the column names. The names will be used in the newly created Table.
Refresh Prview
After chaning the importing options you can revalidate the settings by clicking this button.
Preview Table
Show a preview of how the CSV data will be imported. Check this preview before importing.
New Table / Existing Table
Choose if you want to import the CSV data into a new Table or an existing Table.
New Table: Choose a Database and the name of the new Table. Tick Use IDs in CSV file in order to use the first fields in the CSV data as IDs for the newly created Records.
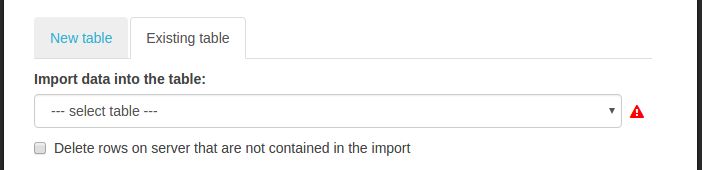
Existing Table (screenshot below): Choose the existingTable to import the CSV data into. Tick the checkbox Delete rows on server that are not contained in the import, if all the Records you need are contained in the CSV file and others should be deleted from the Table. When importing into an existing Table the CSV data must have column names set and the first field must be an ID. If an ID of an imported Record is equal with in exsting ID the existing Record will be updated.
Validate
Once you clicked
Validate
you will see a summary of what will happen, when you import the CSV data.
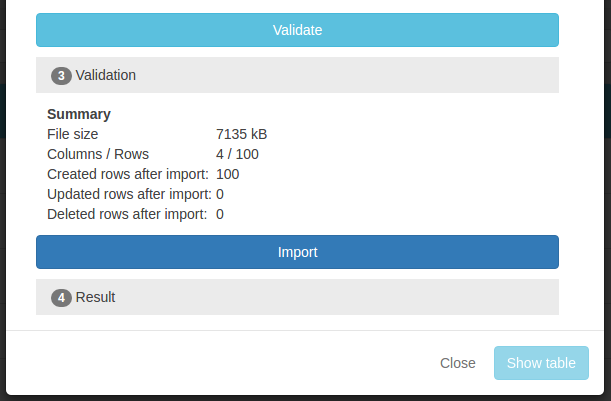
The screenshot above is showing the validation results. Check those numbers before starting the import process.
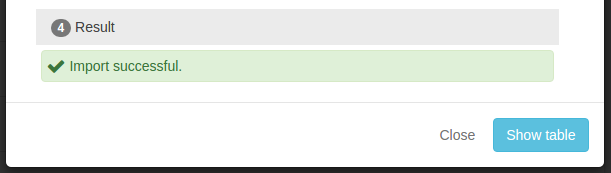
If the Records have been imported successfully, a message will appear as in the screenshot above. Click
Show table
to open the Table showing the imported Records.